> For the complete documentation index, see [llms.txt](https://docs.flowiseai.com/llms.txt). Markdown versions of documentation pages are available by appending `.md` to page URLs; this page is available as [Markdown](https://docs.flowiseai.com/using-flowise/analytics/opik.md).
# Opik
Learn how to setup Opik to analyze and troubleshoot your chatflows and agentflows
***
## Setup
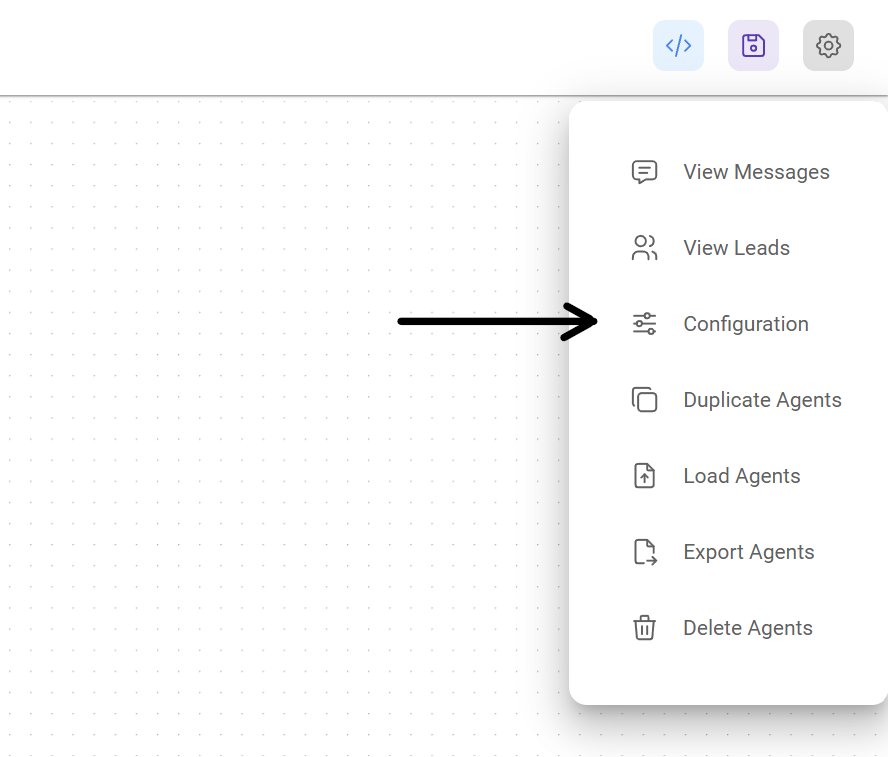
1. At the top right corner of your Chatflow or Agentflow, click **Settings** > **Configuration**
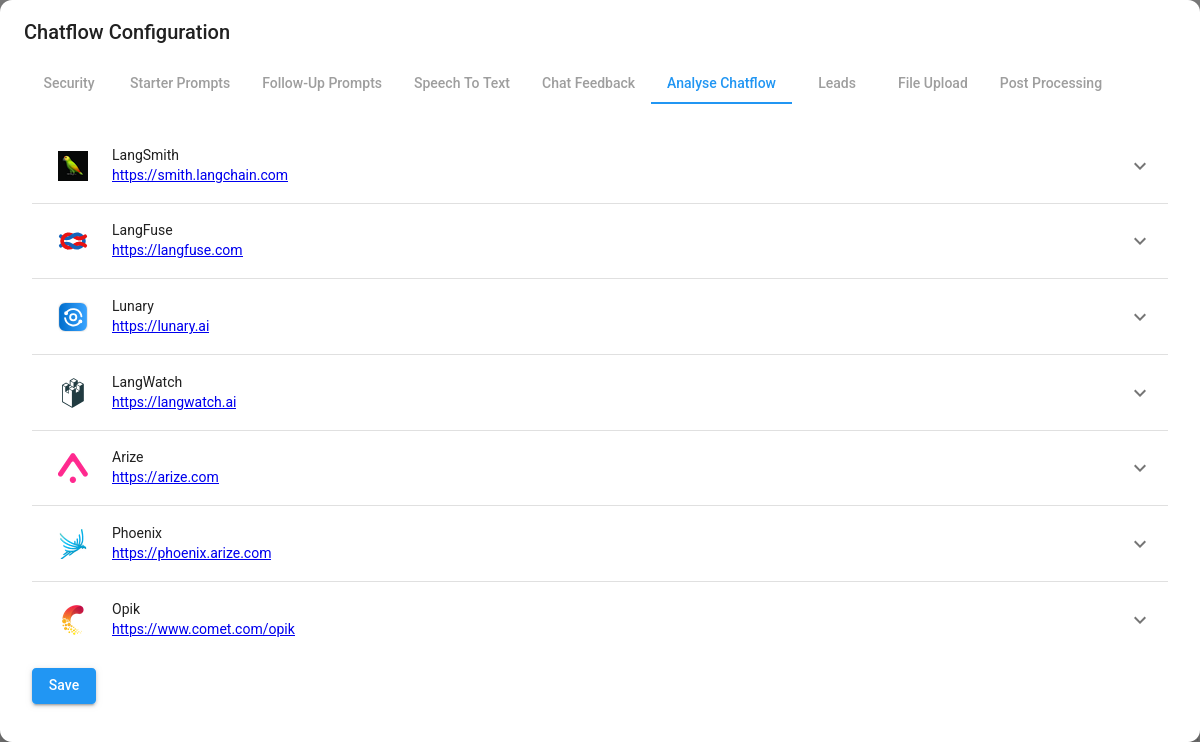
2. Then go to the Analyse Chatflow section
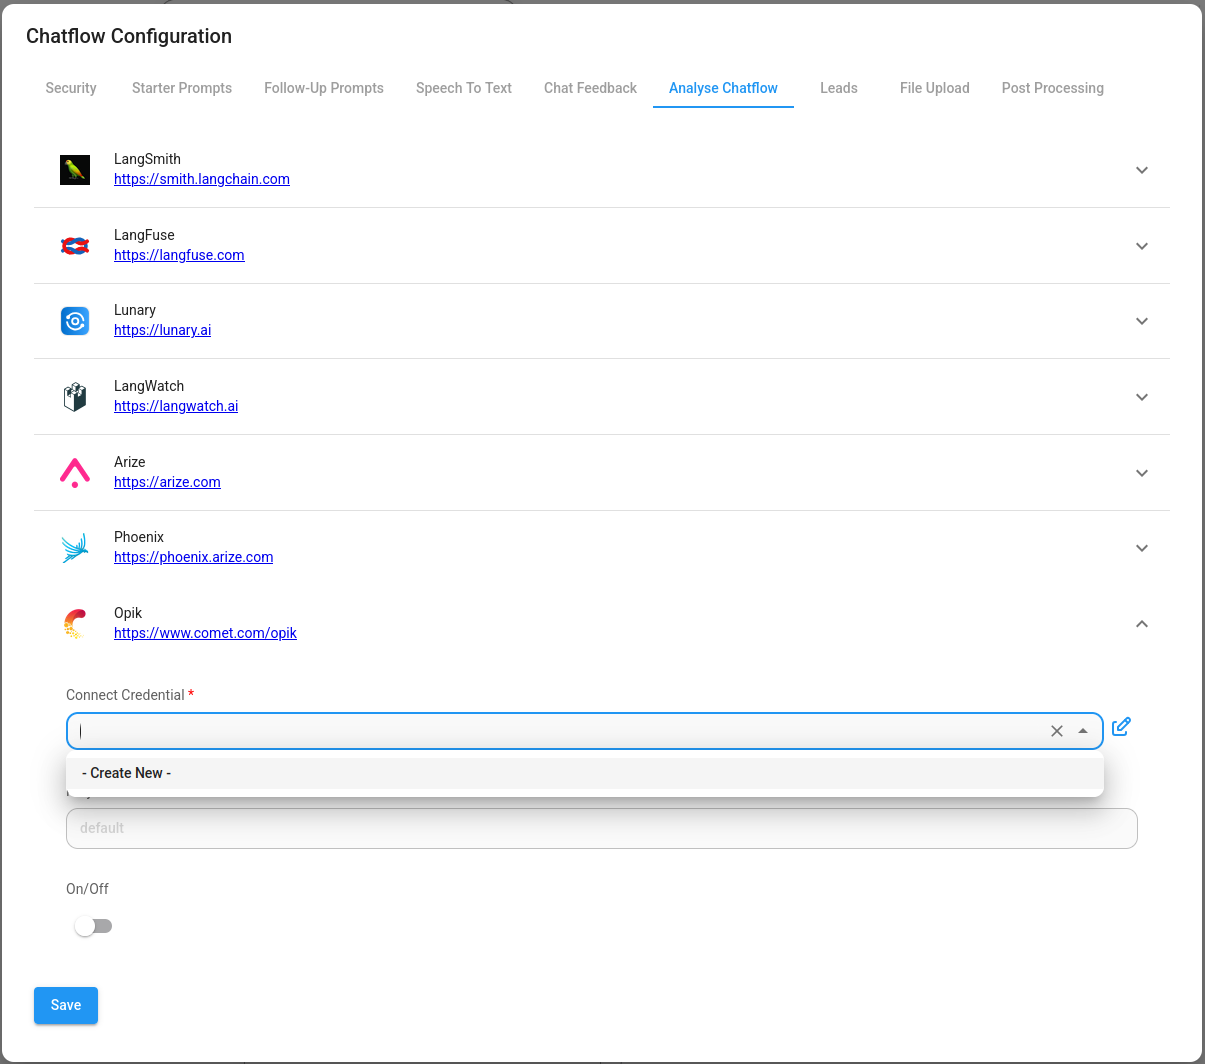
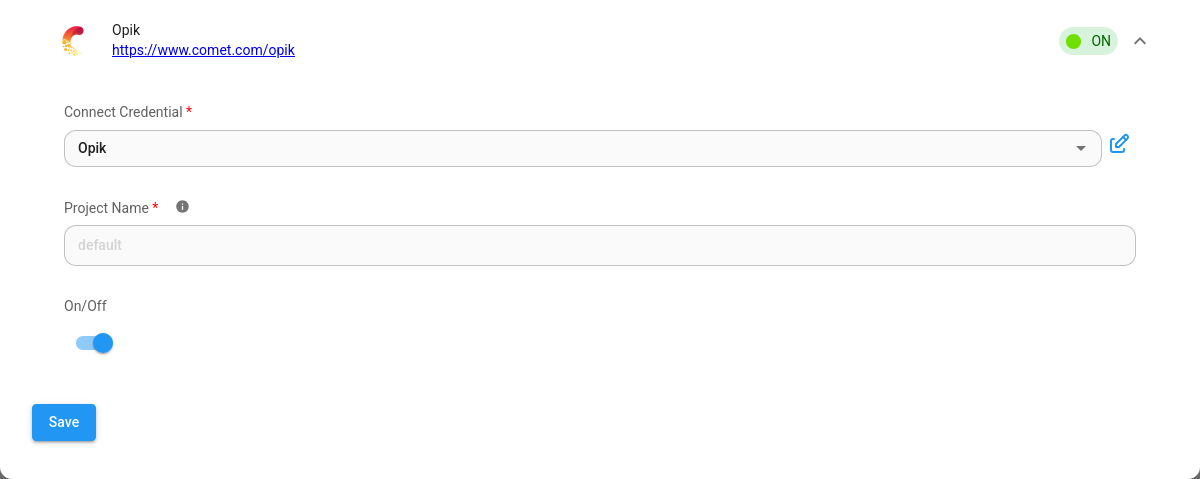
3. You will see a list of providers, along with their configuration fields. Click on Opik.
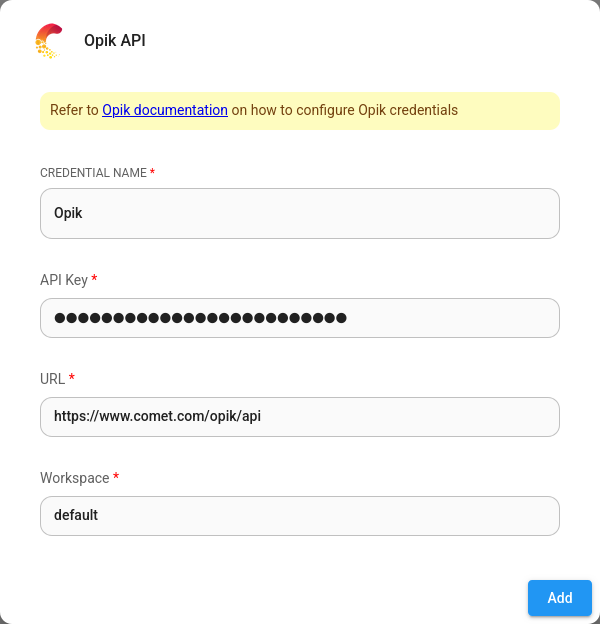
4. Create credentials for Opik. Refer to the [official guide](https://www.comet.com/docs/opik/tracing/sdk_configuration) on how to get the Opik API key.
5. Fill in other configuration details, then turn the provider **ON**
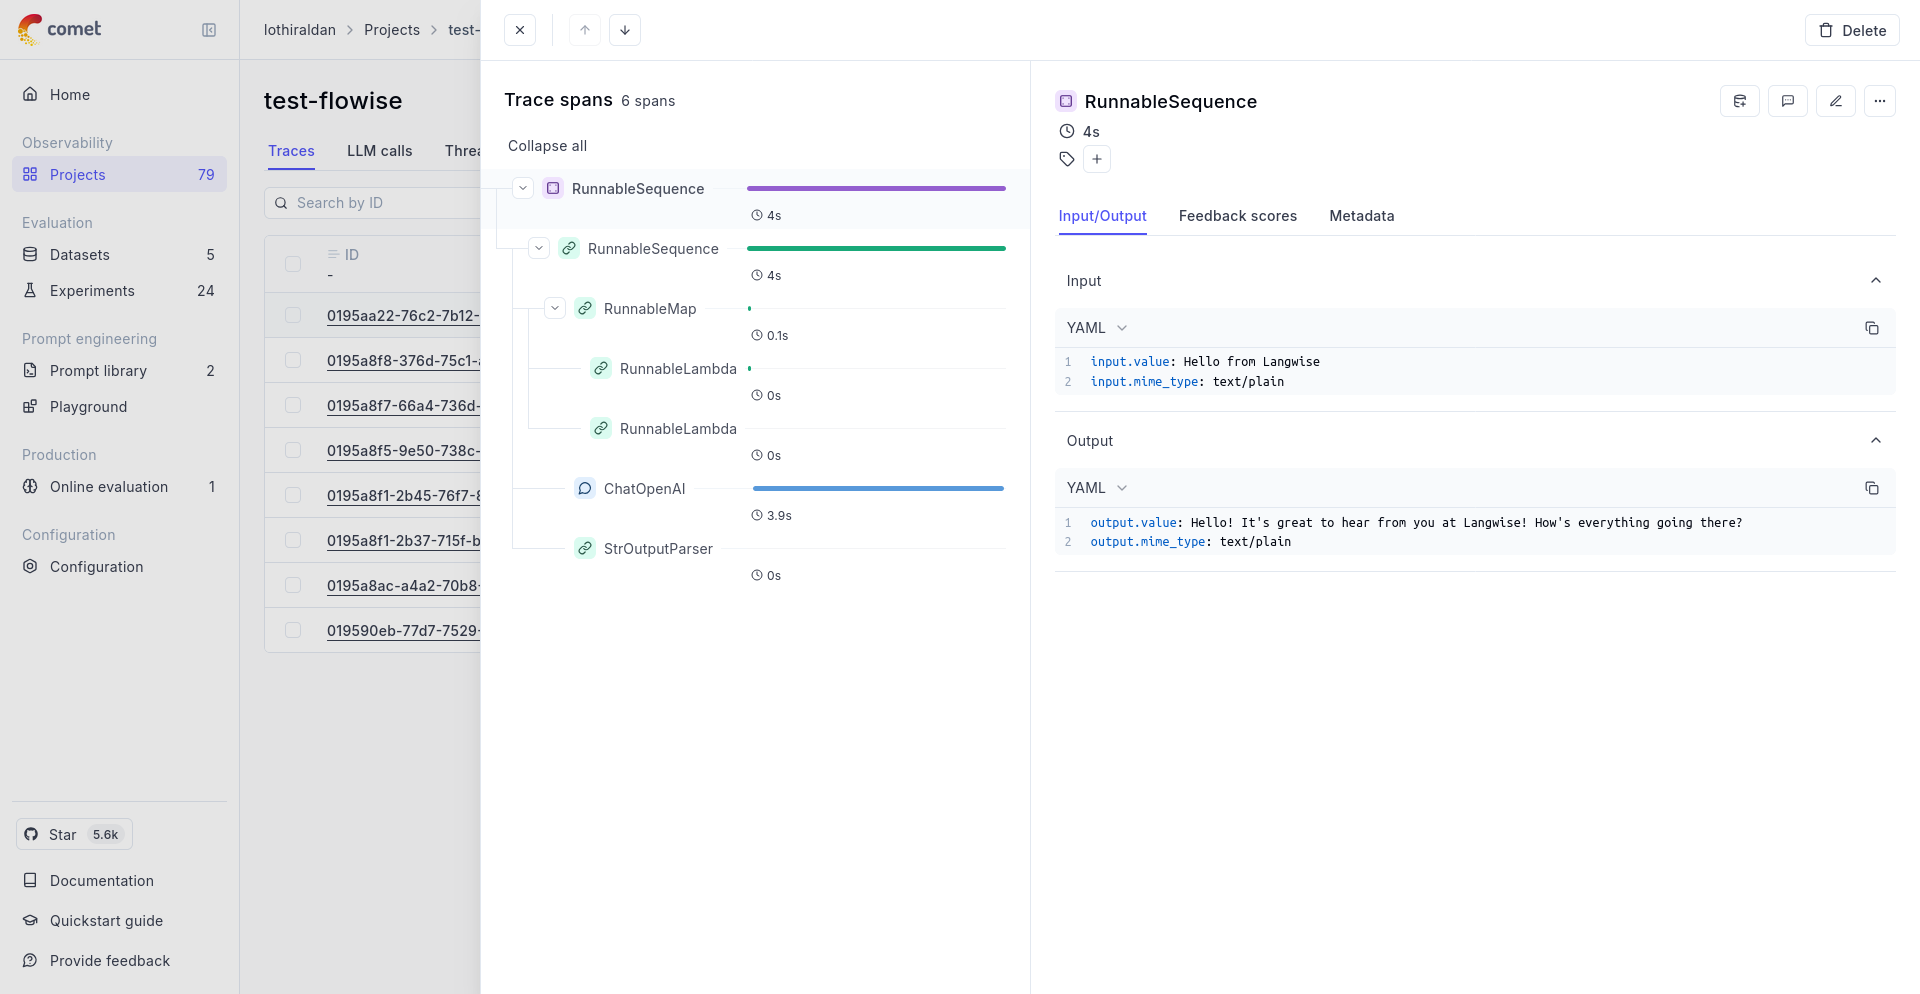
Now you can analyze your chatflows and agentflows using Opik UI: